You might have heard of the term “Indoor air quality” before. Anyone can have an idea of what it is as the name itself is self-explanatory. But most people don’t know that the term also considers the air that is around our home. The reason is that the surrounding air is going to a part of your home once it comes inside or is sucked in by our ventilation systems.
Why is Indoor Air Quality Important?
Research shows that on average, Americans spend 18-19 hours per day at home. This time includes all the weekends and holidays that you spend at home or at any of your relatives. Air quality in a house is important because you will be breathing it all the time. Clean and fresh air is crucial for the overall well-being of our systems. Consider investing in indoor air quality testing to ensure that your home’s air meets the highest standards of purity and healthiness.
It can increase our ability to think critically and also increase our daily productivity. Clean and odorless air also has a very pleasing effect on our overall which keeps us happy and relaxed.
Health hazards due to bad Indoor air quality
The health hazards of subpar air quality are endless. The effects depend on how bad the air is and how long you have been breathing in that air.
People can suffer from continuous headaches and dizziness. Elders and children can also suffer from extreme fatigue.
In some severe cases, it can also cause cancer, permanent allergies, asthma, and even chronic diseases. That is why having a clean-air home is very important
What Causes Bad Air Quality?
One of the most common causes of bad air quality in your home could be your kitchen. This is the place where most of the burning occurs. The carbon residue on our stoves is burned every time when we cook something. It releases these particles into the air which contributes to polluted air.
Any other burning sources near your home can also contribute to bad indoor air. This includes chimneys, fire, and even your neighbor’s BBQ.
Apart from these causes, the thing that drastically decreases the air quality are bad ventilation and dirty ventilation systems.
Improper ventilation means that your HVACs and other ventilation systems are circulating the same old dirty air in your home.
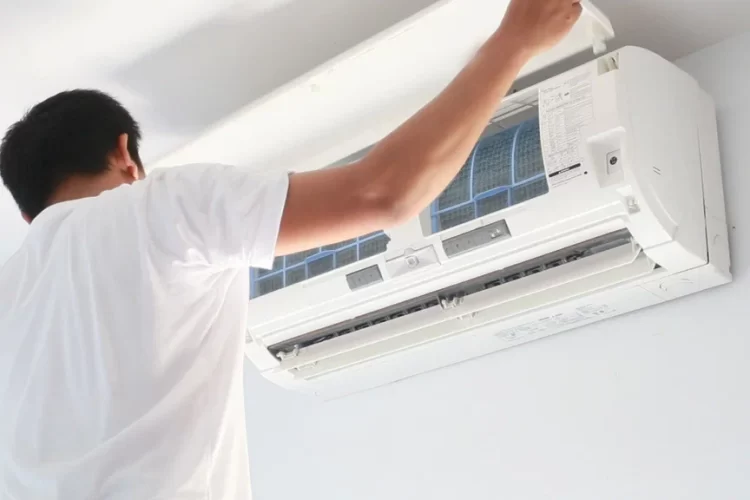
Dirty vents and ducts will also fill your indoor air with pollen, mold spores, pet hairs, bacteria, and whatnot.
How to Measure Indoor Air Quality?
Now that we know how important air quality is, we are going to discuss how to measure indoor air quality at home. We will discuss a step-by-step process to ensure that you get the right results.
Identify Areas For the Test
The first thing you have to do is to identify the area that you believe has bad air quality. Testing kits can be expensive and some are used only once. So, you have to make sure that you aren’t wasting your money on testing areas where the air is clean.
You can identify such areas by common symptoms of bad air. If you start sneezing or feel a very bad odor when entering a room, then it means that the air is bad.
Also, if you see mold in any one of your rooms, then that room will have bad air quality. Make sure to select the areas wisely to save your money and time.
Buy the Right Type of Testing Kit
Apart from the different brands, there are also different types of testing kits. Each of these is designed to detect a certain type of pollutant in the air.
For example, there are kits that are specifically designed to detect mold spores in the air. It will give you an accurate rating on the mold spore but won’t be able to give any ratings on the amount of asbestos or radon in the air.
Make sure that you buy the right kit for your home, otherwise, you could end up wasting all of that money.
If you are unsure of what kit to buy or want to check everything at once, then you can buy multi-purpose kits that are available in the market. These kits might be a bit expensive but you will avoid all the complexities and hassle of choosing and using different kits.
Conduct the Test in Normal Conditions
Make sure that you conduct the tests in normal conditions. If you have just got a thorough cleaning from a professional and try to test the air, the result will be inaccurate.
Such ducting and cleaning services will release all the air from your furniture and carpets into the air. This will automatically result in bad air quality. Other things like painting and carpentry services can also leave a lot of chemicals and residue in the air which will also provide inaccurate results.
Wait for at least a day or two after getting such services. Once everything is settled, you can conduct your tests.
Follow the Test Kit’s Manual
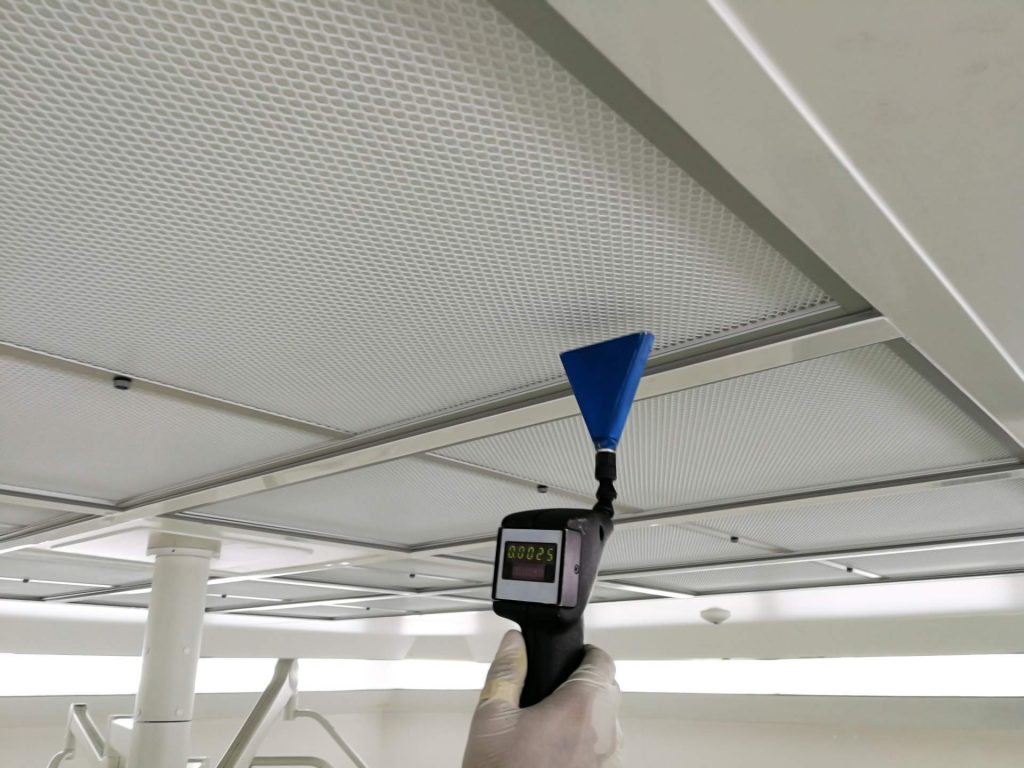
Different kits have different procedures. You can easily check these procedures in the kit’s manual. Most of the kits will have to be placed in the affected area and left for a day or two. Some of the most advanced kits can give instant results.
If you are unsure of how to use a kit, it is advised to contact the seller or the manufacturer. If you are unable to get in contact with them, then try to get help from your local professionals.
You can also check online videos which are fairly accurate. But avoid following videos for kits that are very expensive and sensitive as a simple mistake can ruin the kit.
Document the Results
Make sure that you are continuously documenting the results as you might not be able to use some of the kits again. You don’t want to buy another kit and wait for another day just because you forgot to note down the readings or lost the piece of paper on which you wrote them.
Analyze the Results Properly
Now is the time to check if you have bad indoor air quality or not. You should be able to find comprehensive guidelines on the back of the packaging of the kits.
These guidelines include how to examine the readings, what they mean, what are the metrics, and more.
Compare your readings with the given guidelines on the packaging. If your readings fall under the safe category, then you should be fine and the reason for frequent sickness is something else. If it’s a bad rating, then you have to get professionals to fix the issue for you.
Conclusion
If you follow the above steps carefully, you will be able to check accurately whether their quality is good or bad. Keep in mind that the whole purpose of checking the air is to ensure that you don’t breathe in bad air. This is why it is important to act fast once you find that the air in your home is not of good quality. The longer you wait, the more the chances of diseases and allergies. Check what’s causing the bad air and contact the relevant professionals for immediate fixes.


